How to Install Helium Using the Installation Wizard

Onboarding documents serve the purpose of providing new users with clear instructions on the installation process and guidance on effectively utilizing all the available options within a plugin. Additionally, our installation video is designed to assist users in seamlessly installing the plugin, ensuring a smooth setup experience.

Step 1: Install Plugin

You can download the Helium plugin from the "My Account" area on gohelium.io. To upload the plugin, you need to go to Dashboard > Plugins > Add New. Once it is installed, we recommend you active the plugin to use it.
helium-plugin-upload

Step 2: Check for Updates

It is strongly advised to check for updates on Dashboard > Plugins > Installed Plugins.
helium-check-updates

Step 3: Run Helium Installer

In order to run the Helium setup you need to go to Dashboard > Helium > Launch.
helium-installation-launch

Step 3: Run Helium Installer - Task 1

There are two installation methods, which we will cover in detail in this document.

Walk me through the installation Process (Recommended):

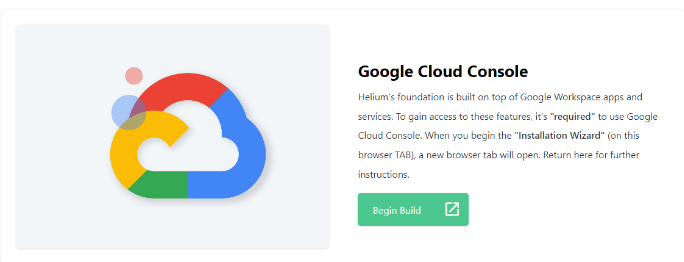
Helium’s foundation is built on top of Google workspace apps and services. To gain access to these features, it’s required to use google cloud console. Once you click “Begin Build” it will open google cloud console in a new tab. You can return back to the setup wizard by keeping the tab open.
helium-installation-method
helium-google-cloud-console

Step 3: Run Helium Installer - Task 2

Select Project

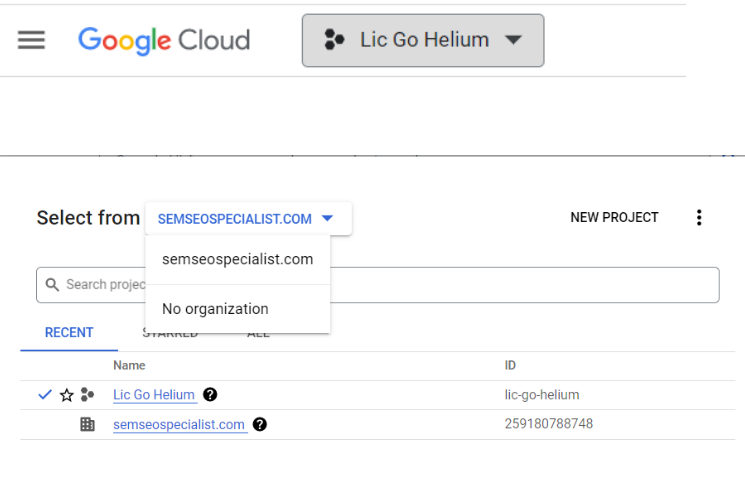
In the new tab, you have to select the project from the drop down and return back to the wizard. In order to select it, you have to go on the top left corner and select the project. Once you click the drop-down, it will give a popup screen where you can select.
helium-select-project

Step 3: Run Helium Installer - Task 3

New Project

Once you select a project, you need to go back to the google console tab and create a New project. The link to create it, would be at the top right corner of the same popup where the project was selected. Once the popup appears, you have to go back to the setup wizard and move to the next step.
helium-select-newproject-01

Step 3: Run Helium Installer - Task 4

New Project > Project Name

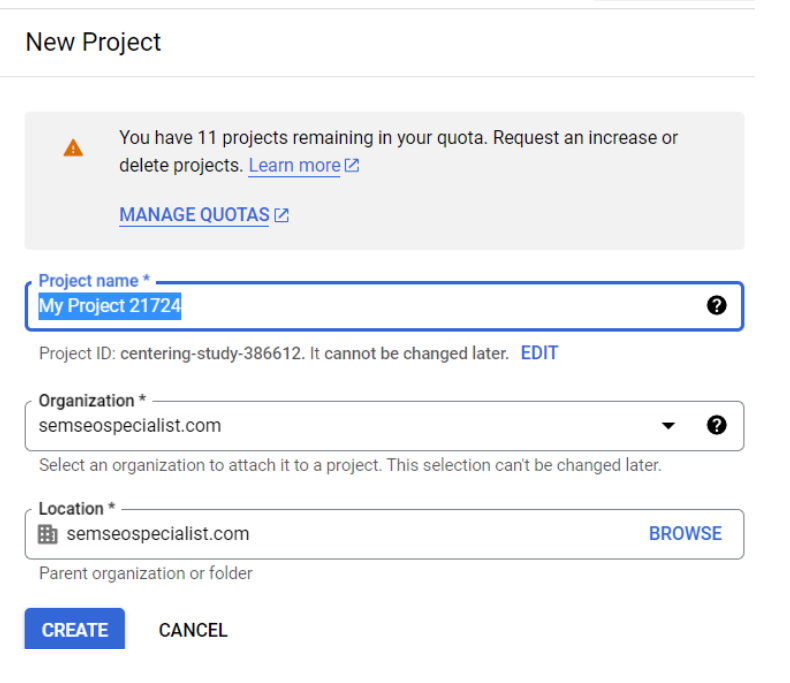
In the new project tab, you need to give your project a name only. You can name it anything you want. When you’re done, return to the “Installation Wizard” and check the box.

Step 3: Run Helium Installer - Task 5

Create New Project

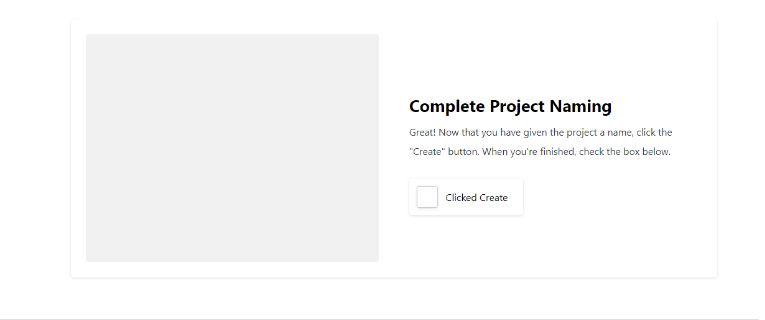
Once you give the project a name, click the Create button and return back to the wizard for the next step.
helium-create-project-button-02

Step 3: Run Helium Installer - Task 6

Enable APIs

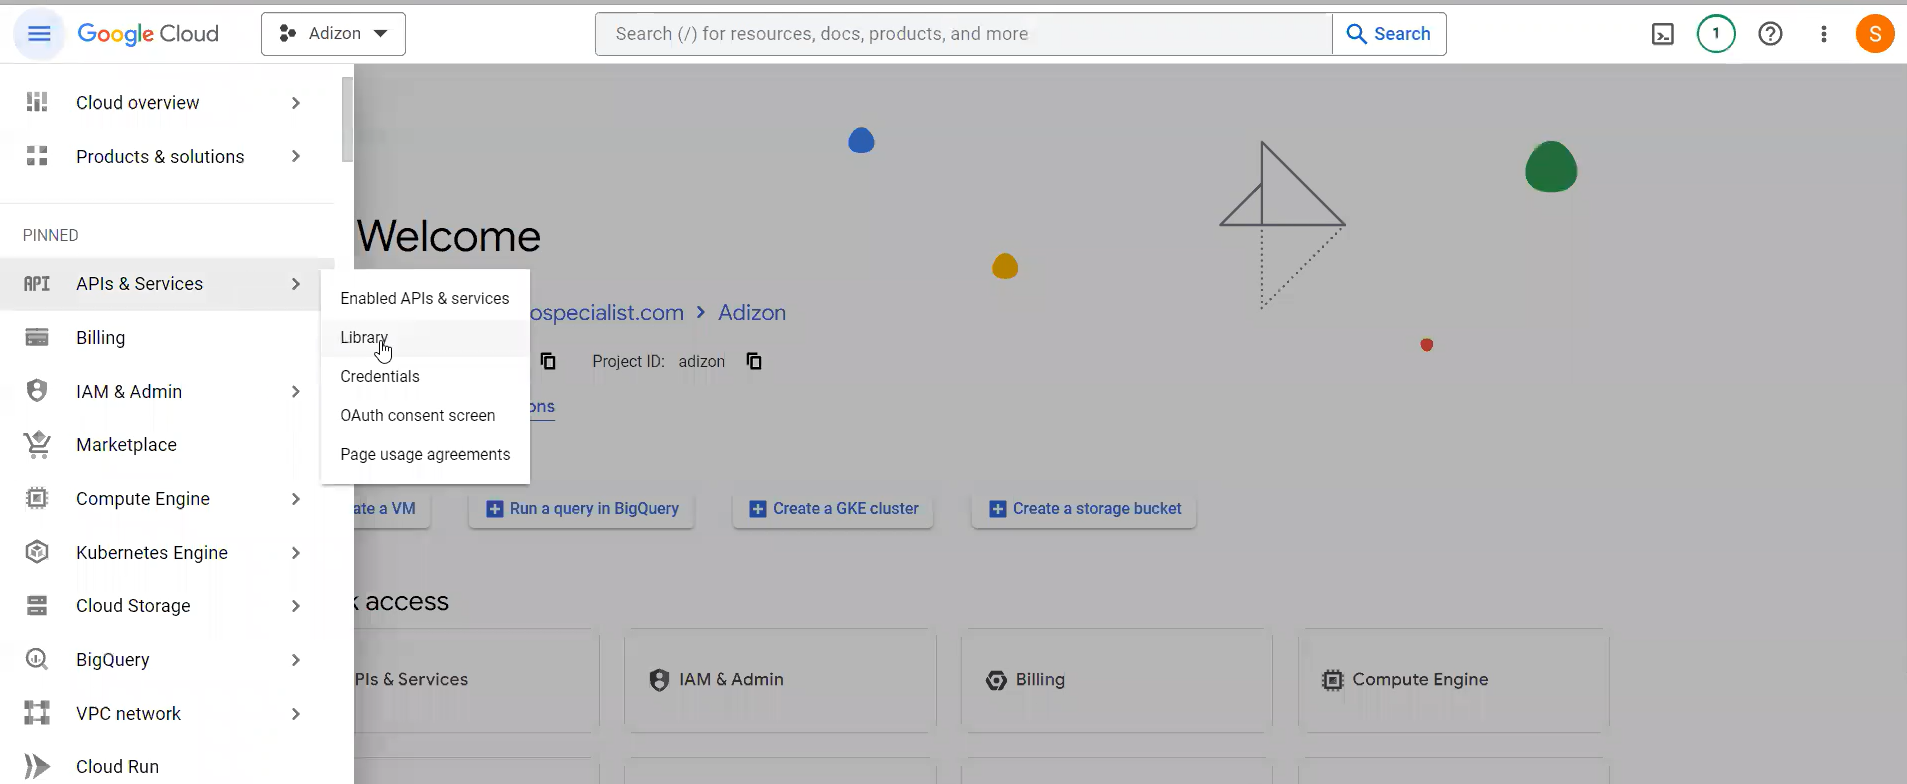
Now that you have created your Google Cloud Project, it is time to enable APIs. On the console, click the sandwich icon at the top left. In the side menu, navigate to APIs and Services. Select “Library” from the menu. Once done, go back to the setup wizard and move to the next step.
Helium-Library

Step 3: Run Helium Installer - Task 7

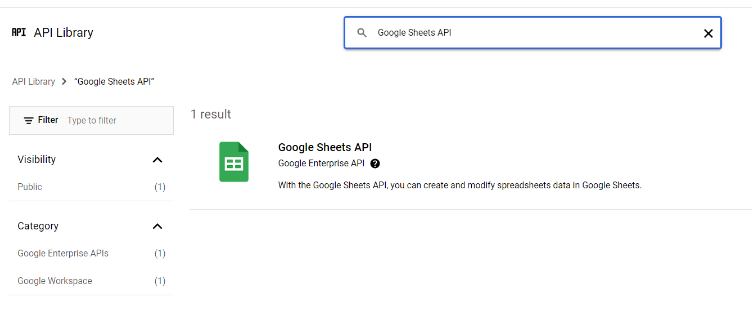
Search - Google Sheets API

Use the “Google API Search Bar” to find the Google Sheets API.
helium-enable-api-03

Step 3: Run Helium Installer - Task 8

Select - Google Sheets API

You need to select the Google Sheets API and return back to the wizard.
helium-enable-api-06

Step 3: Run Helium Installer - Task 9

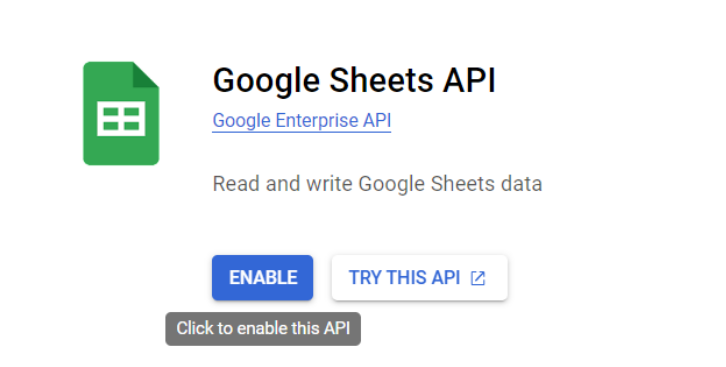
Enable - Google Sheets API

Once it is done make sure to Enable Google Sheets API. Once it is enabled, you can head back to the library.
helium-enable-api-07

Step 3: Run Helium Installer - Task 10

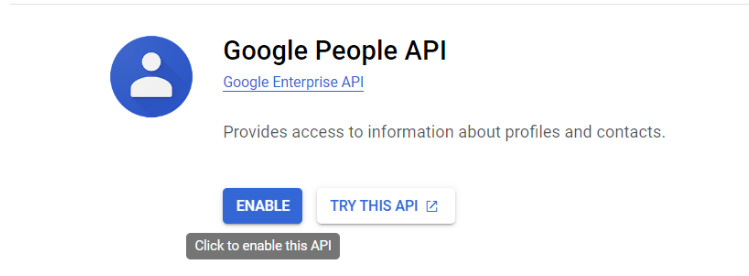
Search, Select & Enable - Google People API

You need to search for “Google People API” and enable it. After it has been enabled, head back to the library.

Step 3: Run Helium Installer - Task 11

Search, Select & Enable - Apps Script API

We will search “Apps Script API” from API & Services > Library and then enable it and move back to the setup wizard.
helium-enable-api-13

Step 3: Run Helium Installer - Task 12

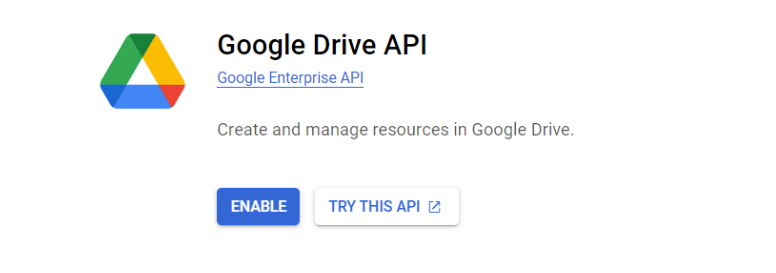
Search, Select & Enable - Google Drive API

We will search “Google Drive API” from API & Services > Library and then enable it and move back to the setup wizard.

Step 3: Run Helium Installer - Task 13

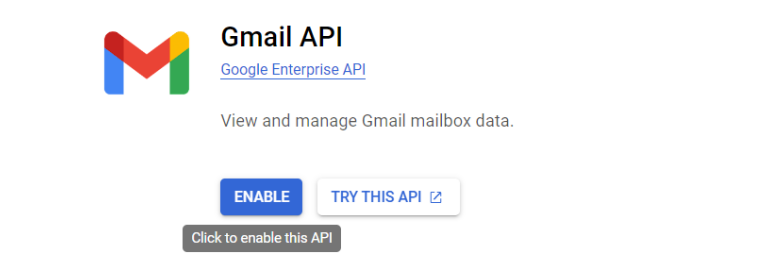
Search, Select & Enable - Gmail API

We will search “Gmail API” from API & Services > Library and then enable it and move back to the setup wizard.

Step 3: Run Helium Installer - Task 14

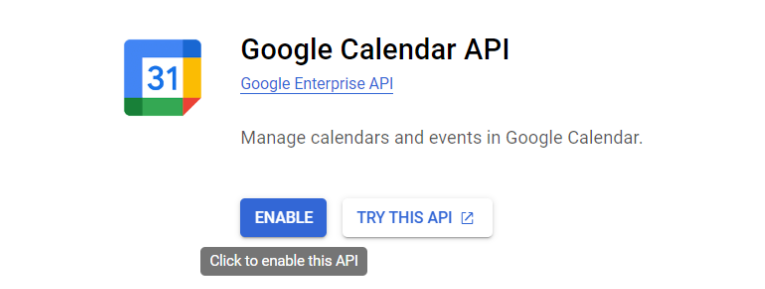
Search, Select & Enable - Google Calendar

We will search “Google Calendar API” from API & Services > Library and then enable it and move back to the setup wizard.

Step 3: Run Helium Installer - Task 15

APIs and Services > Credentials

Great - All the APIs are enabled. Now head back to “APIs and Services > Credentials from the hamburger menu on the top left.
Helium-Credentials

Step 3: Run Helium Installer - Task 16

APIs and Services > Credentials > Create Credentials

In the middle left, click on “Create Credentials” Once the drop down appears move back to setup wizard and move to the next step.
Create Credentials 01

Step 3: Run Helium Installer - Task 17

APIs and Services >  Set API Key

In the drop down appearing in google console, please select API Key and move back to the setup wizard for next step.
Create Credentials 03

Step 3: Run Helium Installer - Task 18

APIs and Services >  Set API Key

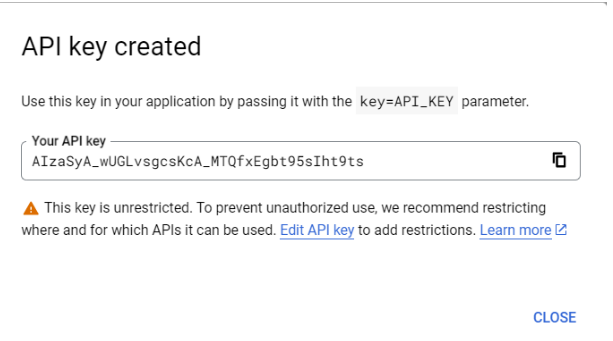
Once the API key is created, move back to the next step in the wizard.

Step 3: Run Helium Installer - Task 19

APIs and Services >  Edit API Key

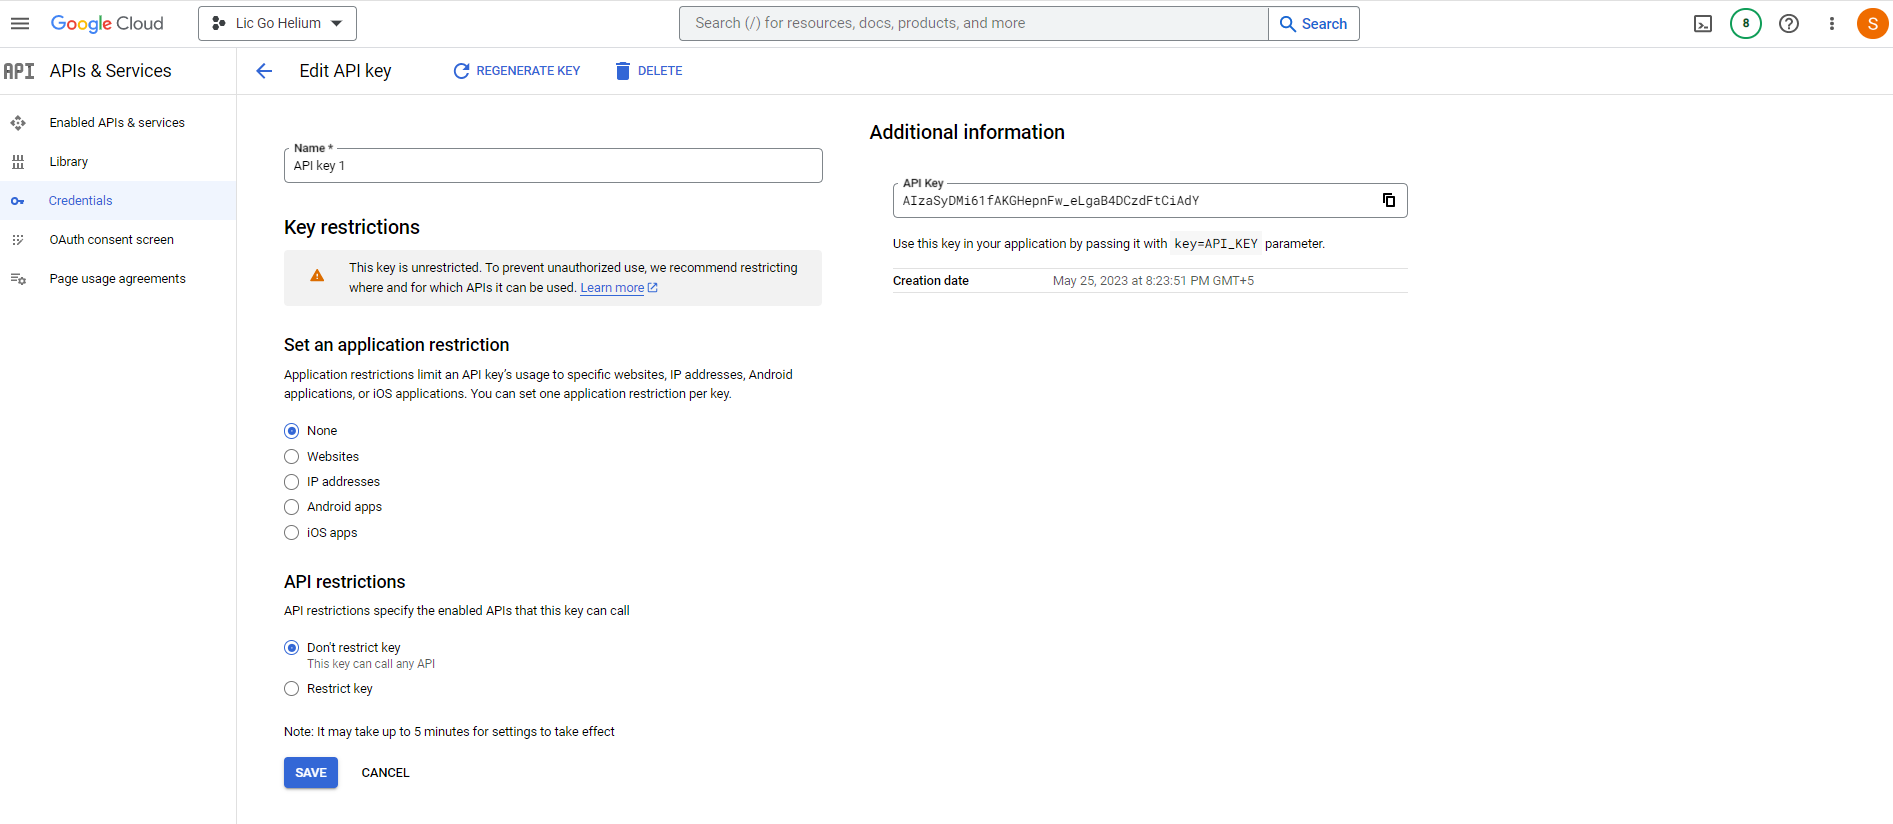
Click on the Edit API key link to add restrictions. At the very end, select Restrict keys, once you select the option it will ask you to select all of the keys and hit save. Once done, move back to the setup wizard and go to the next step.

Step 3: Run Helium Installer - Task 20

APIs and Services >  Edit API Key

You may give a name while editing the API key, we like the name Go Helium :)

Step 3: Run Helium Installer - Task 21

APIs and Services >  Edit API Key

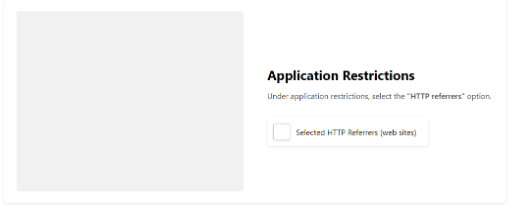
In the same API Key edit screen, under application restrictions, select websites or http referrers and move to the next step in the wizard.

Step 3: Run Helium Installer - Task 22

APIs and Services >  Edit API Key

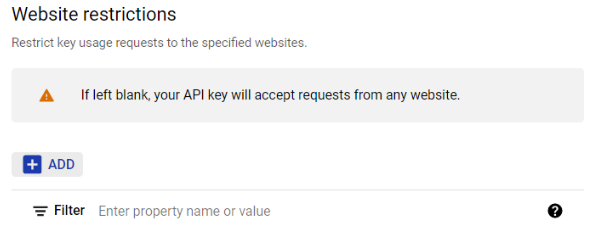
Under website restrictions, click add and item and move to the next step in the wizard.

Step 3: Run Helium Installer - Task 23

APIs and Services >  Edit API Key

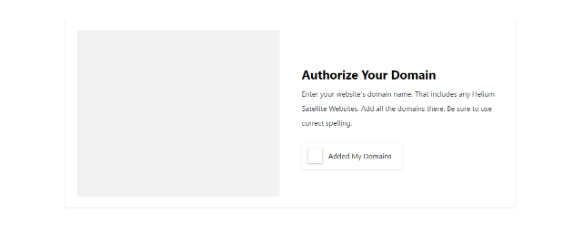
Enter your website’s domain name. That includes any Helium Satellite website. Add all the domains there. Be sure to use correct spelling.
Step 3: Run Helium Installer - Task 24

APIs and Services >  Edit API Key

Select the Restric key option and move to the next step in the wizard.

Step 3: Run Helium Installer - Task 25

APIs and Services >  Edit API Key > API Restrictions

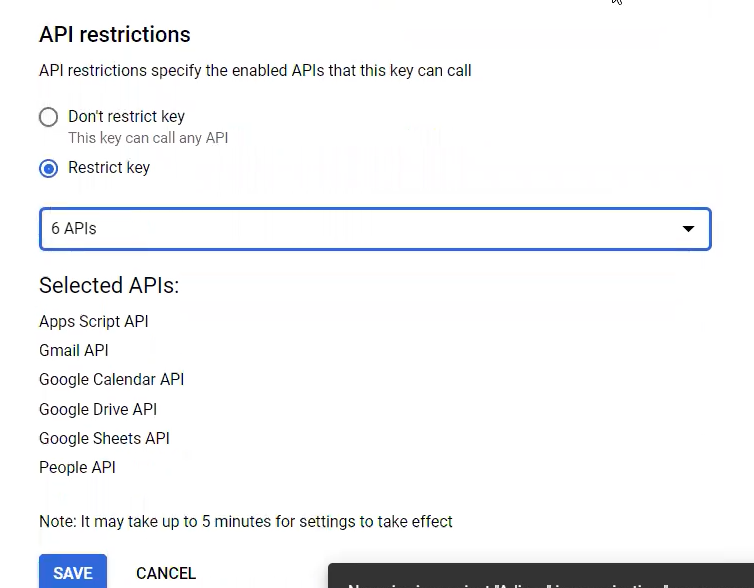
In the dropdown menu, under "API restrictions," select all the APIs that you have just enabled: Google Sheets API, People API, Apps Script API, Google Drive API, Gmail API, and Google Calendar.

Step 3: Run Helium Installer - Task 26

APIs and Services >  Edit API Key > Copy API Key

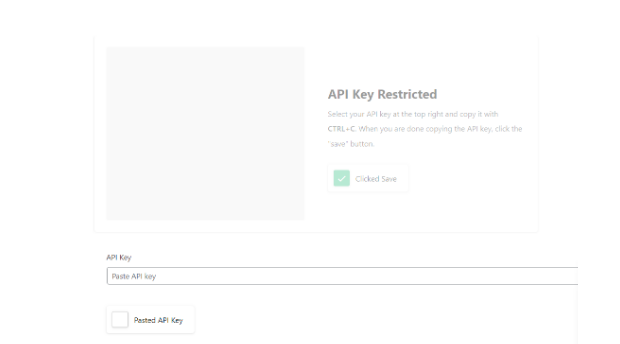
Copy the API key from the top right corner of the edit API window and paste it the setup wizard.

Step 3: Run Helium Installer - Task 27

APIs and Services >  Create Your Credentials

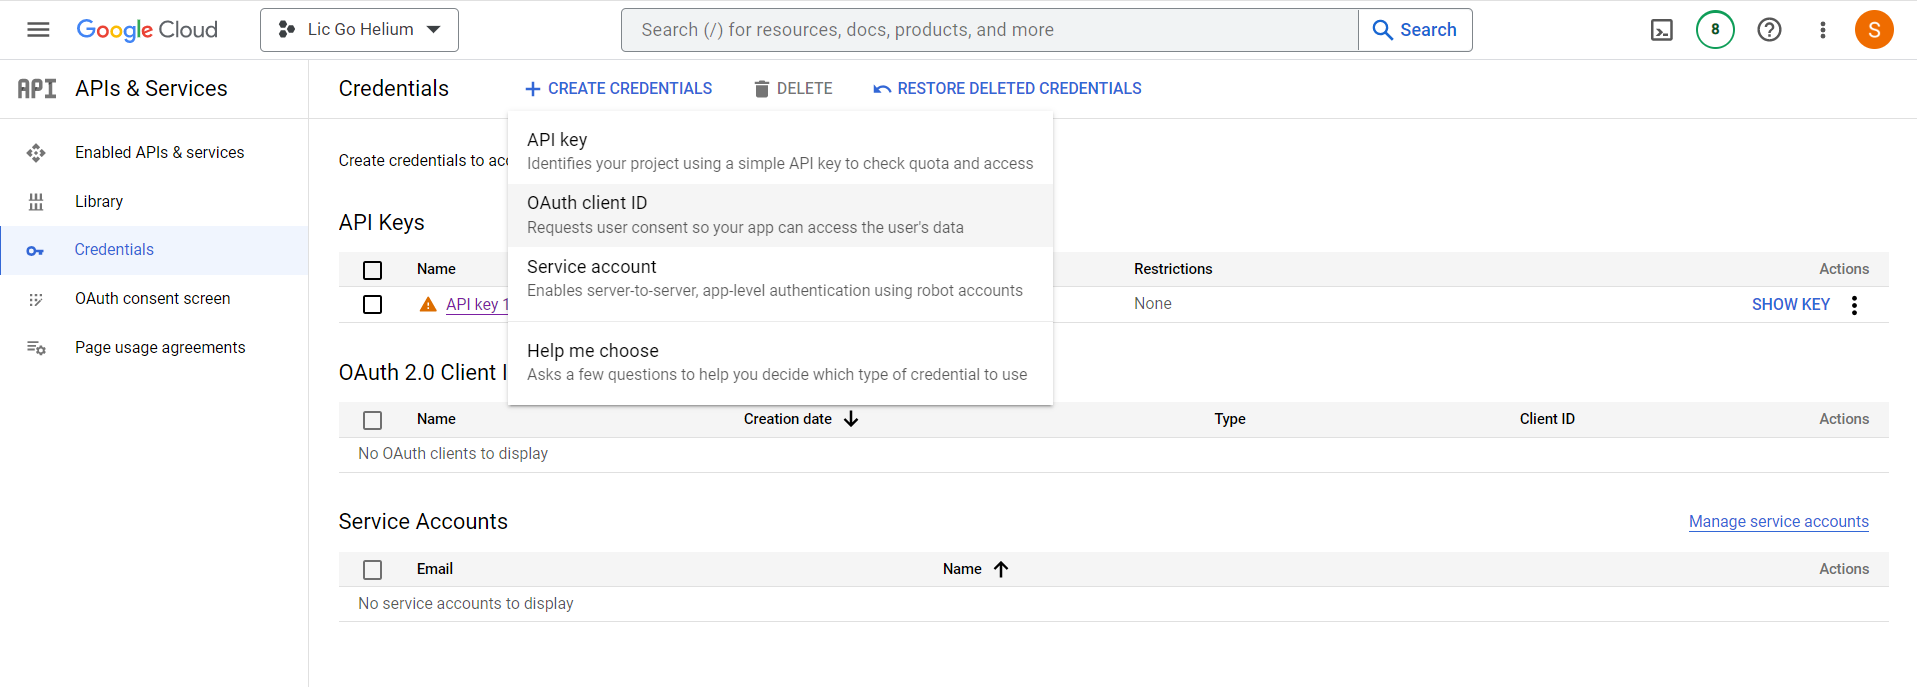
Once you paste the API key, it will take you to the Setup Oath section. Go Ahead and create your credentials. You need to go to API & Services > Credentials and select OAuth client ID.
Helium-Credentials
Helium-OAuth-Client-ID

Step 3: Run Helium Installer - Task 28

APIs and Services >  Configure Consent Screen

Once the window opens, please click the “Configure Consent Screen” and move to the next step in the wizard.

Step 3: Run Helium Installer - Task  29

APIs and Services >  Configure Consent Screen > Select User Type

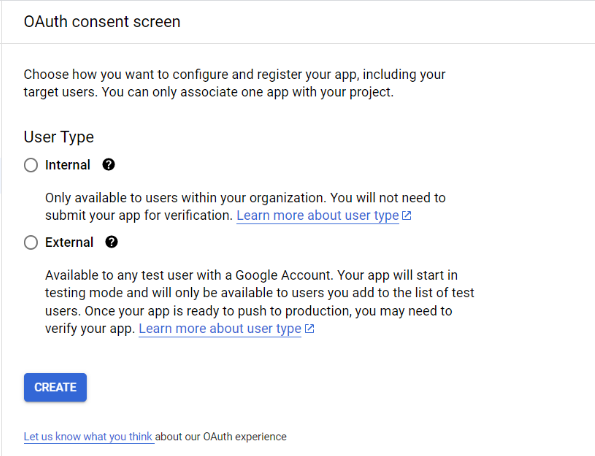
For the user type, there are two options: internal and external. If you are using a Google Workspace account, choose internal. If you are using a Gmail account, choose external.

Step 3: Run Helium Installer - Task  30

APIs and Services >  Configure Consent Screen  > Create User Type

After you have chosen your user type click the "Create" button.

Step 3: Run Helium Installer - Task  31

APIs and Services >  Configure Consent Screen > App Name

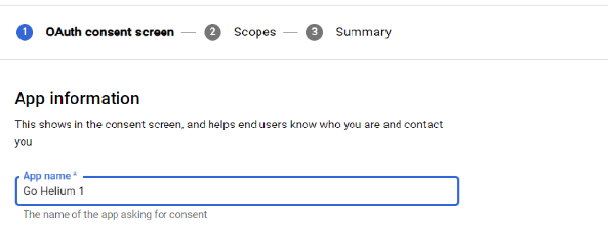
Once you create it, you will be asked to give the application a name. We like Go Helium 1.

Step 3: Run Helium Installer - Task  32

APIs and Services >  Configure Consent Screen  > Support Email

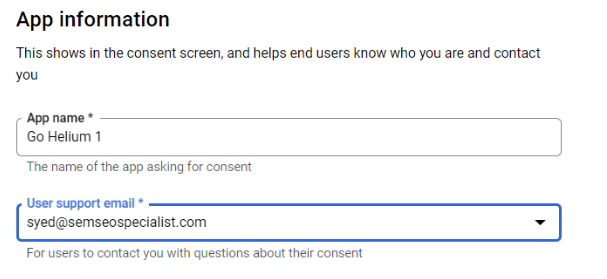
After that, you need to select the support email you want to associate with this application.

Step 3: Run Helium Installer - Task  33

APIs and Services >  Configure Consent Screen > App Logo

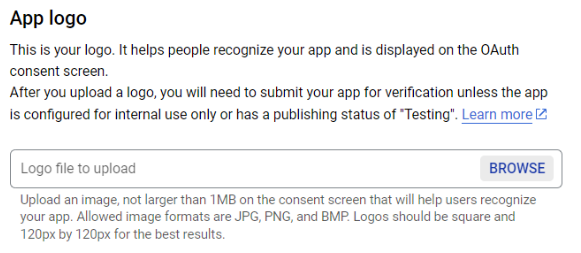
Upload an image for your application's logo. This is completely optional.

Step 3: Run Helium Installer - Task  34

APIs and Services >  Configure Consent Screen > App Domain

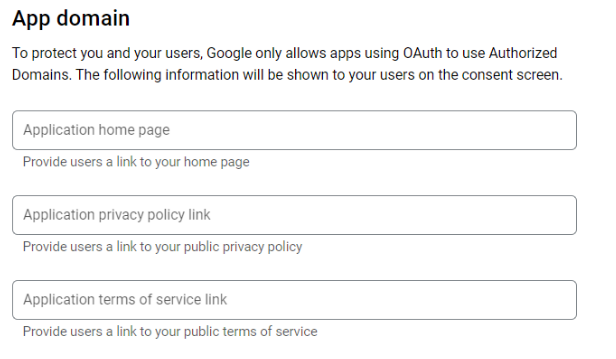
Under the App domain section, you can add website URLs including your home page, Privacy Policy & Terms of Service but this is completely optional.

Step 3: Run Helium Installer - Task  35

APIs and Services >  Configure Consent Screen > Authorized Domains

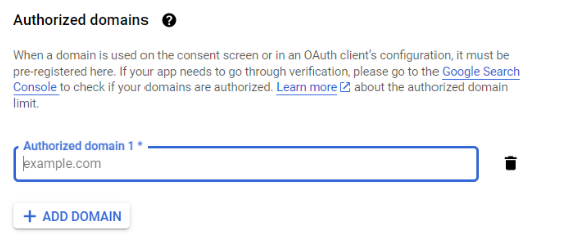
Helium offers you an exciting feature of exporting your form and putting that on any other website to capture leads or subscribers. In order to do so, you need to add domains under “Authorized Domains” heading.

Step 3: Run Helium Installer - Task  36

APIs and Services >  Configure Consent Screen > Developer Contact 

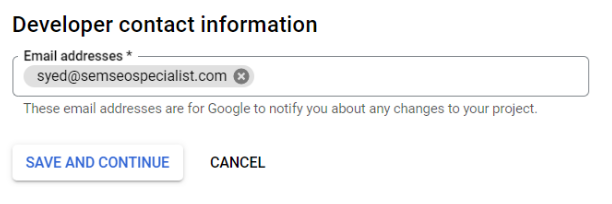
Under "developer contact information," enter your email address. You may add multiple email addresses here.

Step 3: Run Helium Installer - Task  37

APIs and Services >  Configure Consent Screen 

Setting up the consent screen's scope and test users is optional. When you've completed both, click the "Save and Continue" button.

Step 3: Run Helium Installer - Task  38

APIs and Services >  Configure Consent Screen 

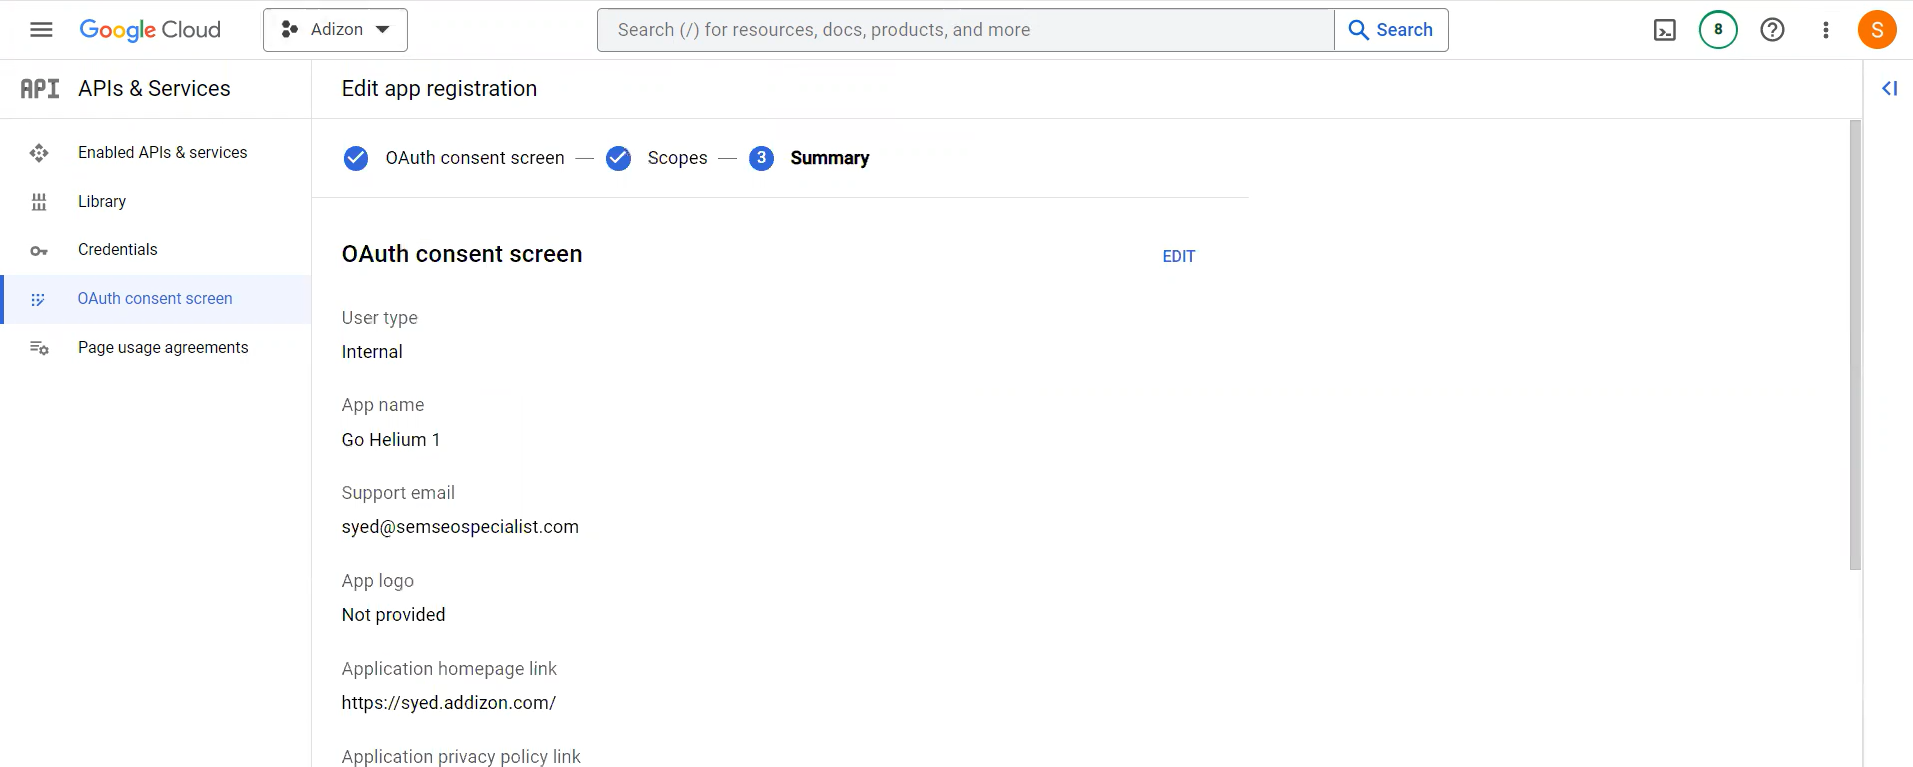
Once you fill out the information, it will give you a summary of the information.
Helium-OAuth-Consent-Screen-Summary

Step 3: Run Helium Installer - Task  39

APIs and Services >  Credentials > OAuth Client ID 

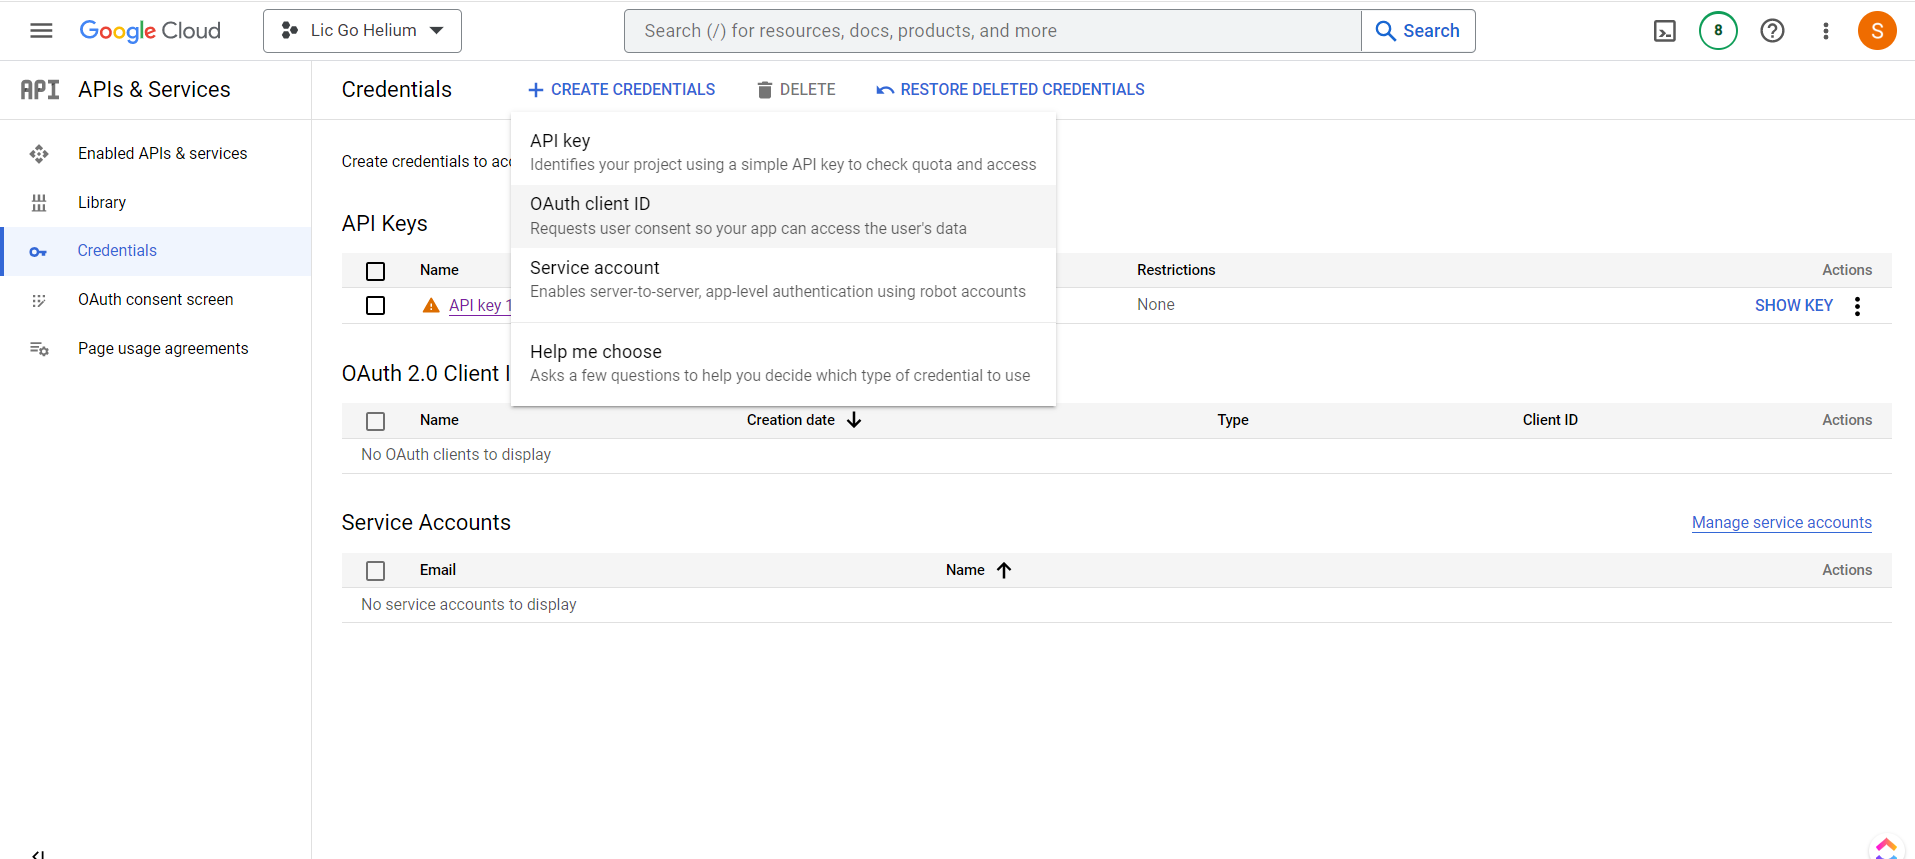
Once the consent screen has been setup, head back to credentials and click Create Credentials and choose OAuth Client ID.
Helium-OAuthClient

Step 3: Run Helium Installer - Task  40

APIs and Services >  Credentials > Create OAuth Client ID 

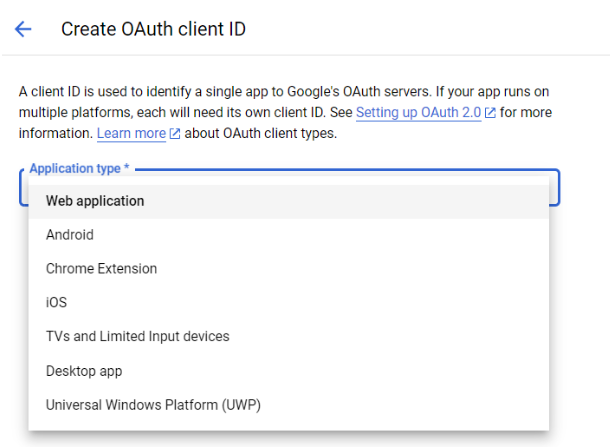
Select “Web Application” from the dropdown menu for the “Application Type”

Step 3: Run Helium Installer - Task  41

APIs and Services >  OAuth Client ID > Authorized JavaScript Origins 

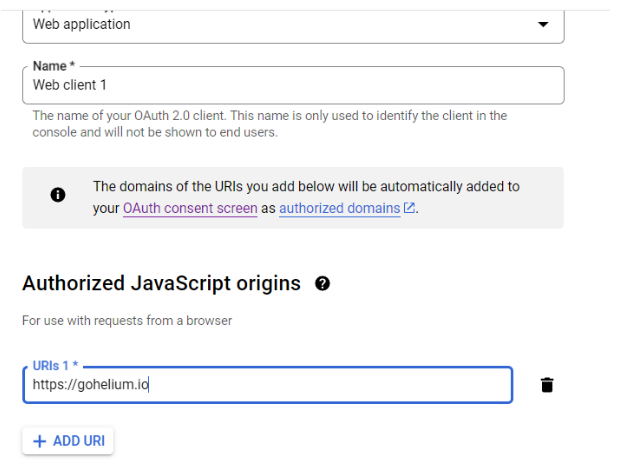
Once the web application is selected from the dropdown, it will ask you to add authorized domains under Authorized JavaScript Origins.

Step 3: Run Helium Installer - Task  42

APIs and Services >  OAuth Client ID > Authorized redirect URLs

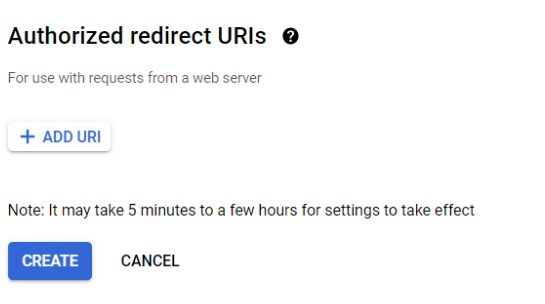
If you want to add Redirect URLs, you can do that and return back to the setup wizard.
Make sure to hit Create button.

Step 3: Run Helium Installer - Task  43

APIs and Services >  OAuth Client ID > Copy Client ID 

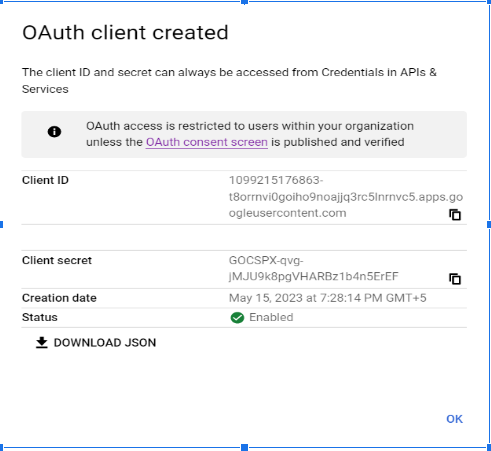
You will see a popup with a client ID, all you have to do is to copy that and move back to the setup wizard.

Step 3: Run Helium Installer - Task  44

APIs and Services >  OAuth Client ID > Paste Client ID 

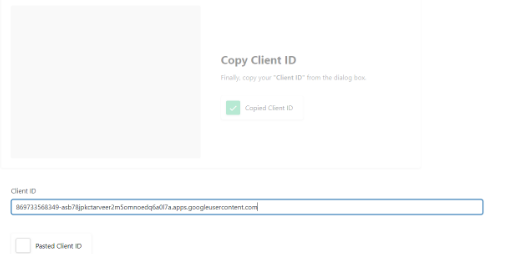
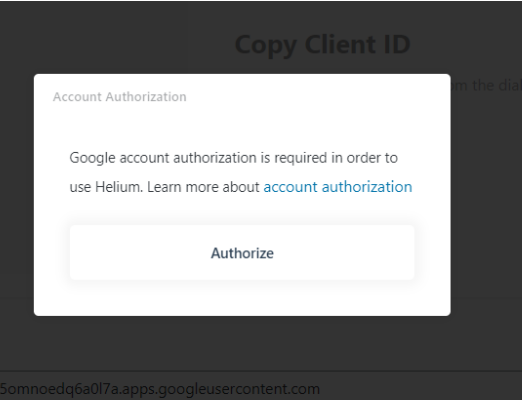
In the setup wizard, paste the client ID and it will ask you to Authorize your google Account.

Step 3: Run Helium Installer - Task  45

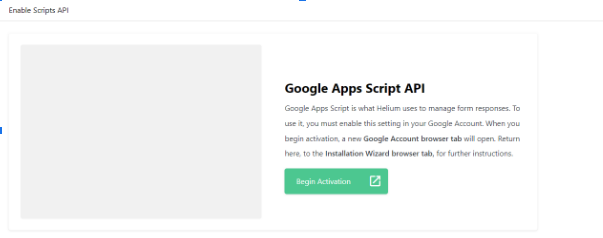
Enable Scripts API

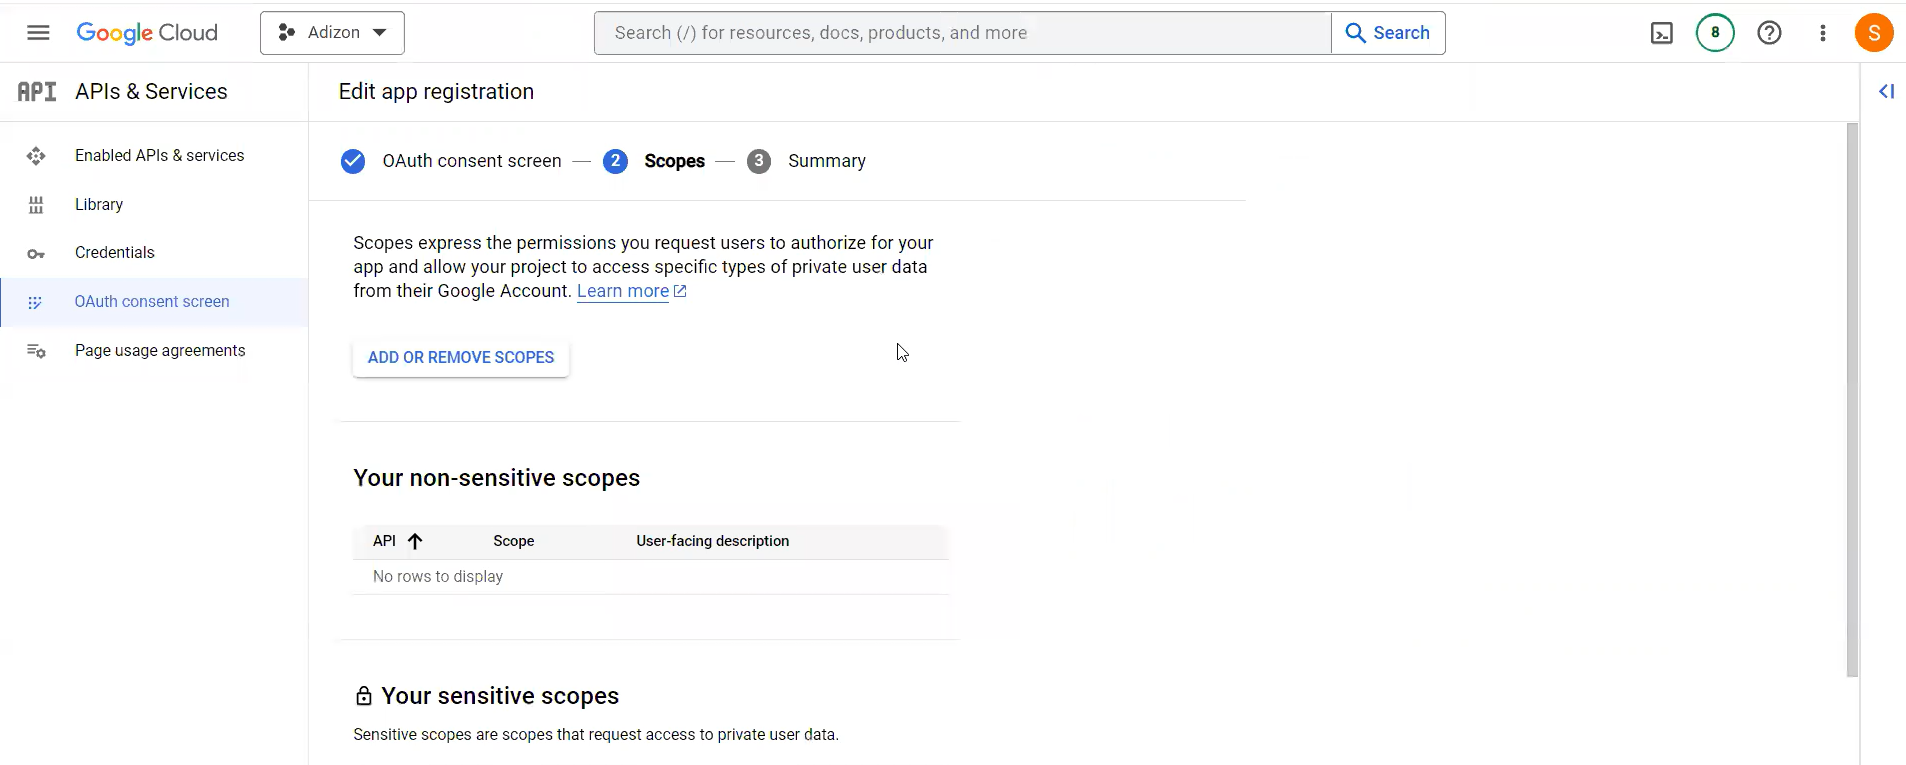
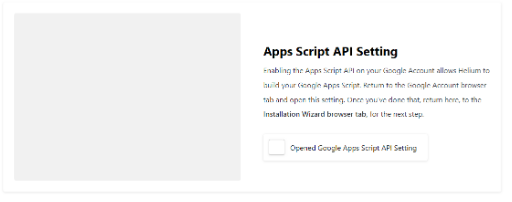
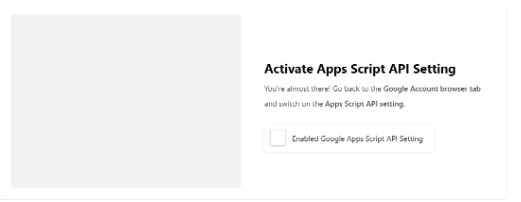
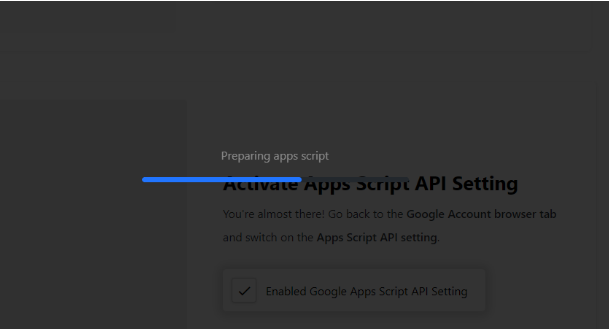
Now we move to the Second last step of the wizard that is enabling Apps Scripts. Once you click on Begin Activation, it will take you to a new tab, once it is open, it will simply ask you to enable the Apps Script. In case it is already activated, please move back to the setup wizard.

Step 3: Run Helium Installer - Task  46

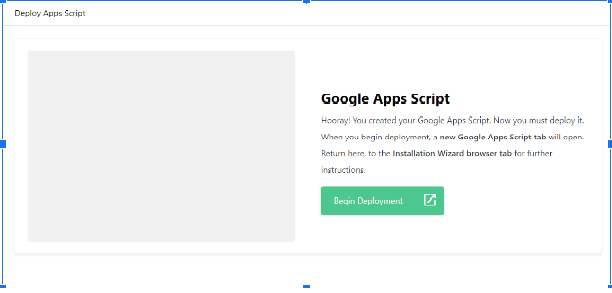
Deploy Apps Script 

Finally we move to the final step of Deploying Apps Script. You have created your Google Apps Script, Now you must deploy it. When you begin deployment, a new Google Apps Script will open.
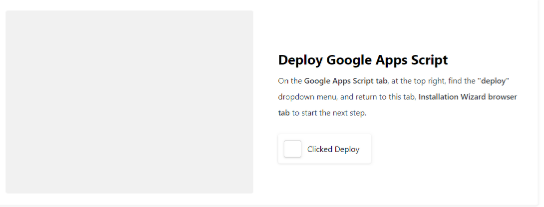
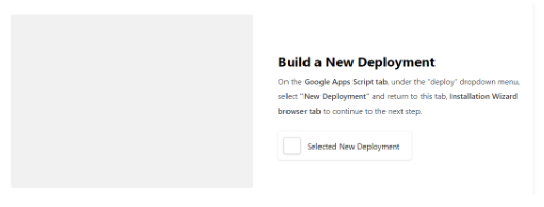
On the top right you will find a deploy drop down, click the new deployment under it.

Step 3: Run Helium Installer - Task  47

Deploy Apps Script > New Deployment> Select Type

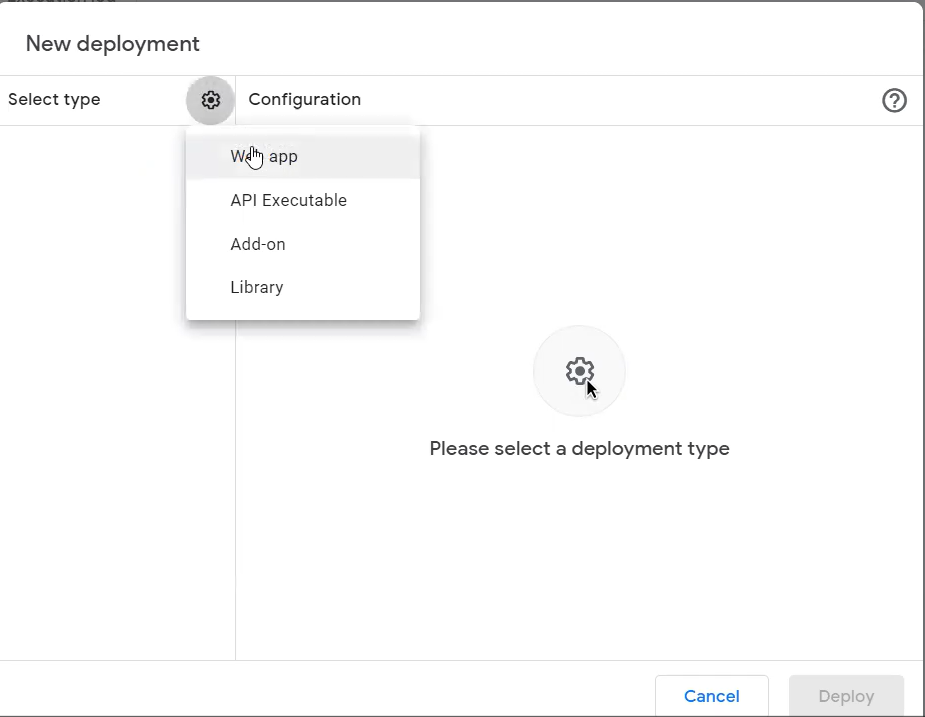
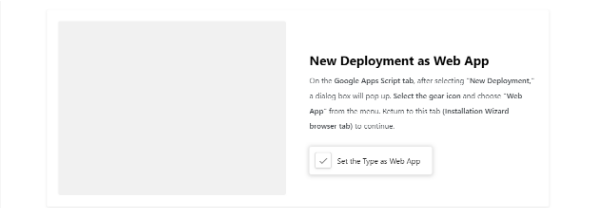
In the New Deployment, you need to click on the gear sign and select Web App.
Helium-New-DeploymentHelium-New-Deployment-01

Step 3: Run Helium Installer - Task  48

Deploy Apps Script > New Deployment> Grant Access

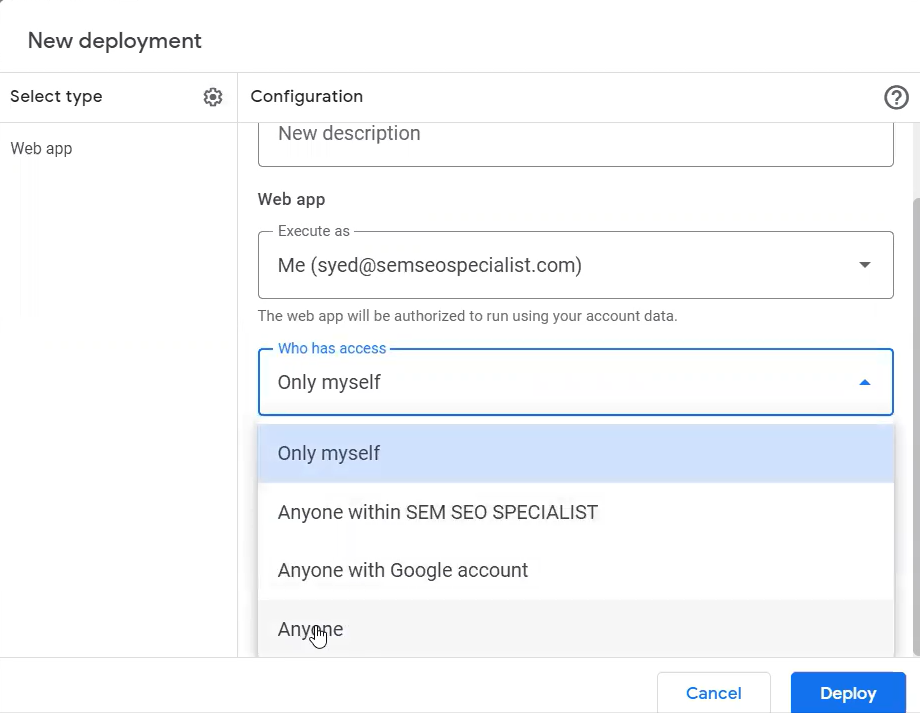
Make sure to select “Anyone” from the Who has Access drop down (as shown in the image below).

Step 3: Run Helium Installer - Task  49

Deploy Apps Script > New Deployment> Grant Access

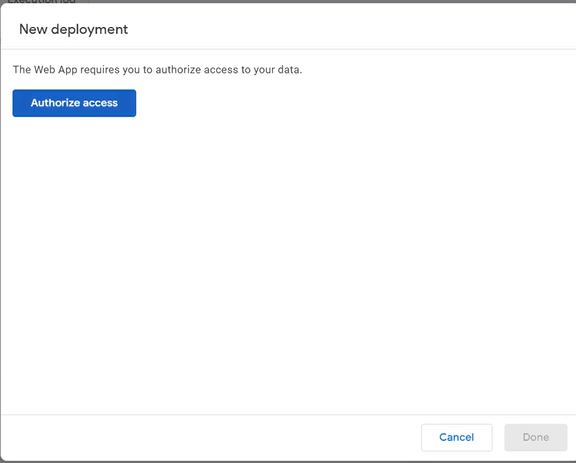
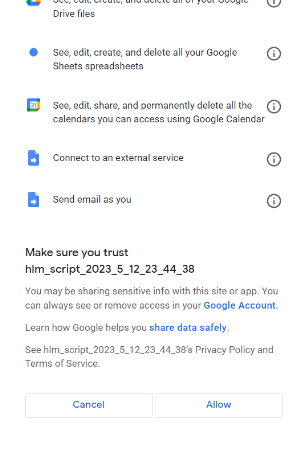
Once you click the deploy button a dialog box will appear. Click the “Authorize Access” button and return to the installation wizard.

Step 3: Run Helium Installer - Task  50

Deploy Apps Script > New Deployment> Grant Access

You need to allow this and you are done - Move back to the installation wizard.

Step 3: Run Helium Installer - Task  51

Deploy Apps Script > New Deployment> Copy Web App URL

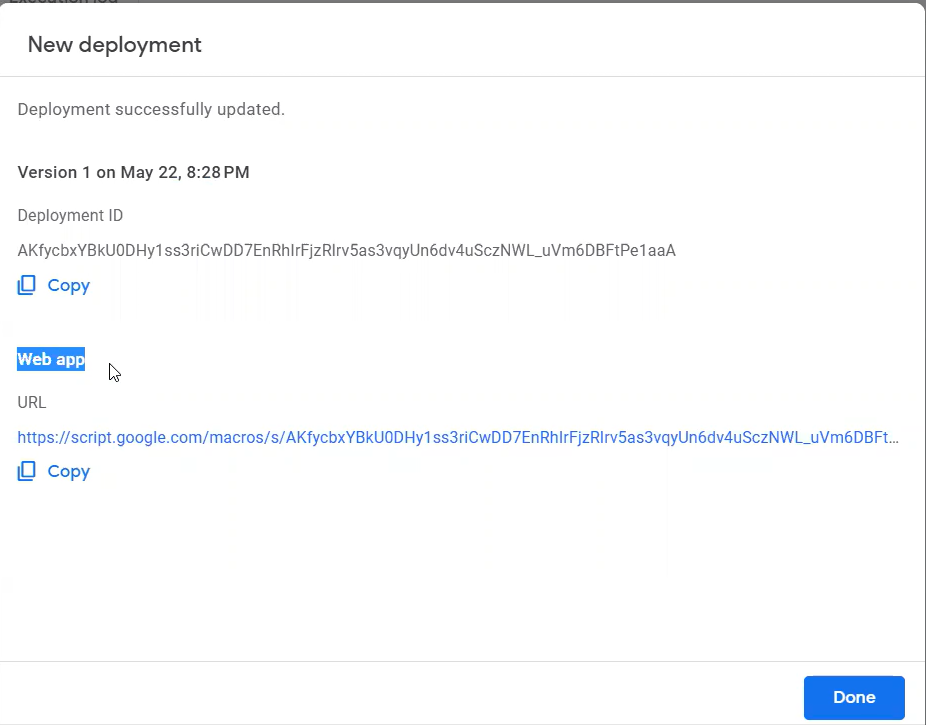
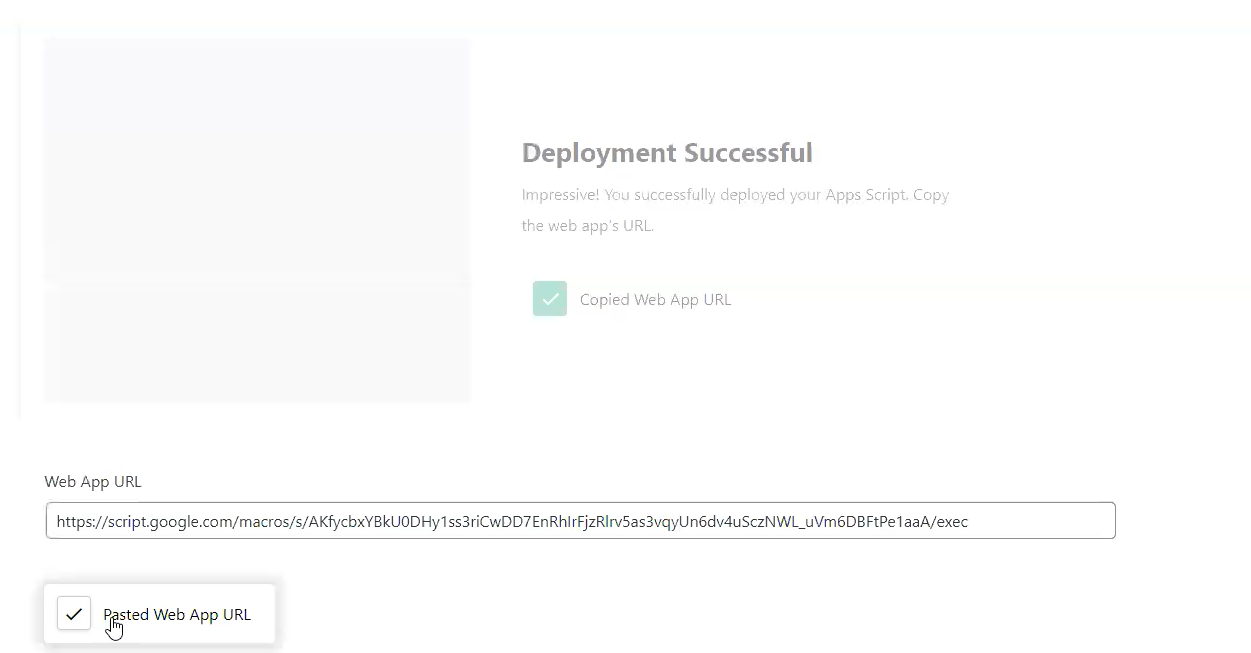
Impressive, you have successfully deployed your Apps Script. Now you need to copy the Web URL and paste it in the wizard to complete the setup. 
Helium-webapp-URL

Step 3: Run Helium Installer - Task  52

Setup Google Calendar

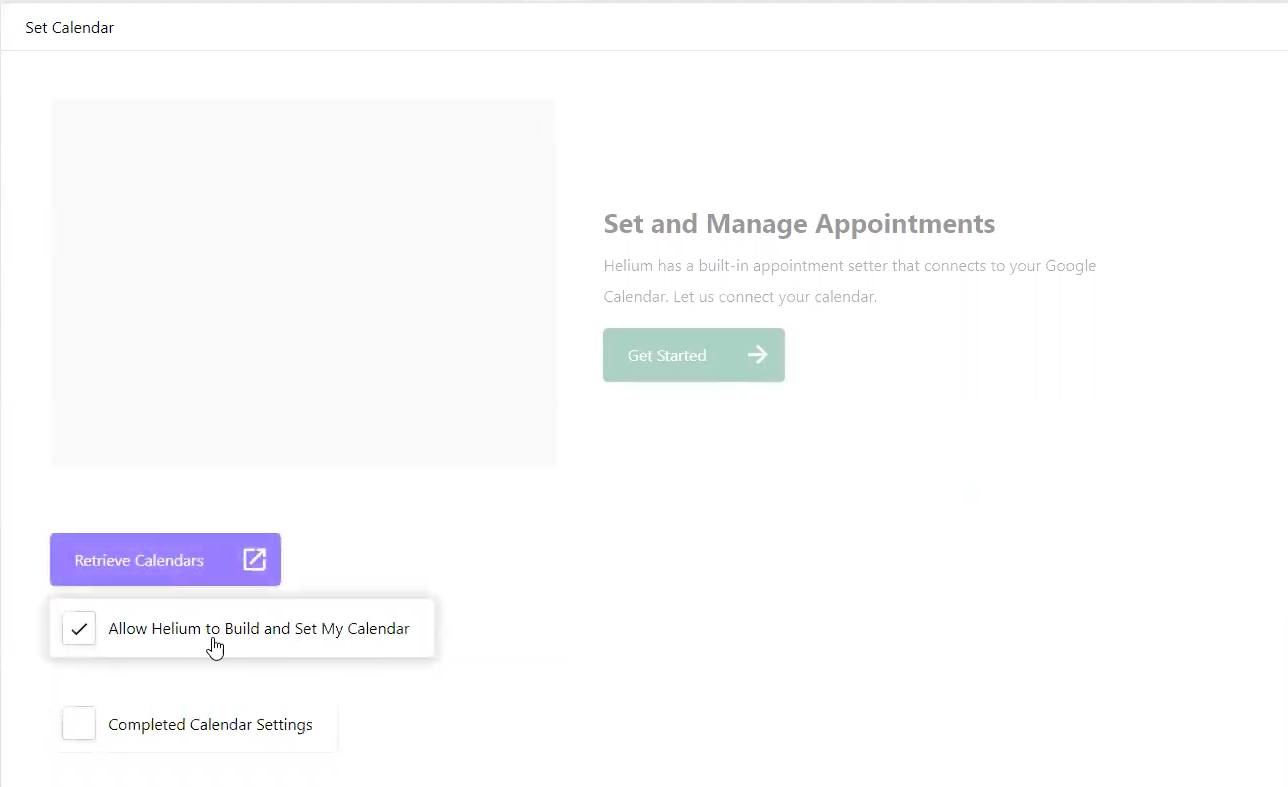
Lastly, let us connect the google calendar as Helium has a built-in appointment setter that connects to your google calendar. 
Helium-Set-Calendar

Frequently Asked Questions

For troubleshooting purposes, you may need access to the server that hosts your website. In addition, you’ll need a Google Workspace and WordPress admin account.

All plugins require Helium. Compressed Helium adds a huge amount of features to Helium’s base capabilities. Solid State requires Compressed Helium to be installed, and adds AI and automation capabilities to Compressed.

Form responses and email recipients can be exported to a CSV file.

You can! Helium allows you to import CSV files containing form data, so if you have old leads you’d like to transfer onto a new form, or if you want to combine form data, Helium makes it easy.

If you only envision needing one user, no. However, even in a single-user situation, Helium works best with Liquid’s user management features. For instance, you might want to install Helium with a catch-all email like “support@[your-company].com” so that confirmation emails sent to your responders aren’t being sent from your personal Gmail account. But you might also want to have access to Helium’s lead management features and notifications with your personal email, so that’s two Helium users: your catch-all email account and your personal email account. Liquid Helium has multiple packages, ranging from one user to unlimited users, that will fit your needs.

We offer anytime assistance via email, phone, or chat.

Solid State Helium determines when an email has been opened. It also can track an email’s clicked links.

Unfortunately, Helium does not have this functionality. However, we are always working on making Helium even better.

Helium is only available on WordPress. However, in the future it may be available on other platforms.